 Photo
PhotoStart with a simple subject
For your first cutout, choose one clear subject against a reasonably different background. Fine hair, glass, motion blur and similar foreground/background colors need more refinement. Save the source and work on a duplicate layer.
The workflow is: select the subject, make a mask, inspect the edge, then add a background or export transparency. Selecting alone does not remove anything.
Select and mask the subject
- Select the photo layer. Choose Object Selection and wait for any model download or analysis to finish.
- Hover over the subject to see the colored preview. Click the subject to commit a selection; confirm the dashed boundary surrounds what you want to keep.
- If the wrong area is selected, correct it with add/subtract selection tools. Use Select and Mask for edge refinement rather than accepting a visibly poor boundary.
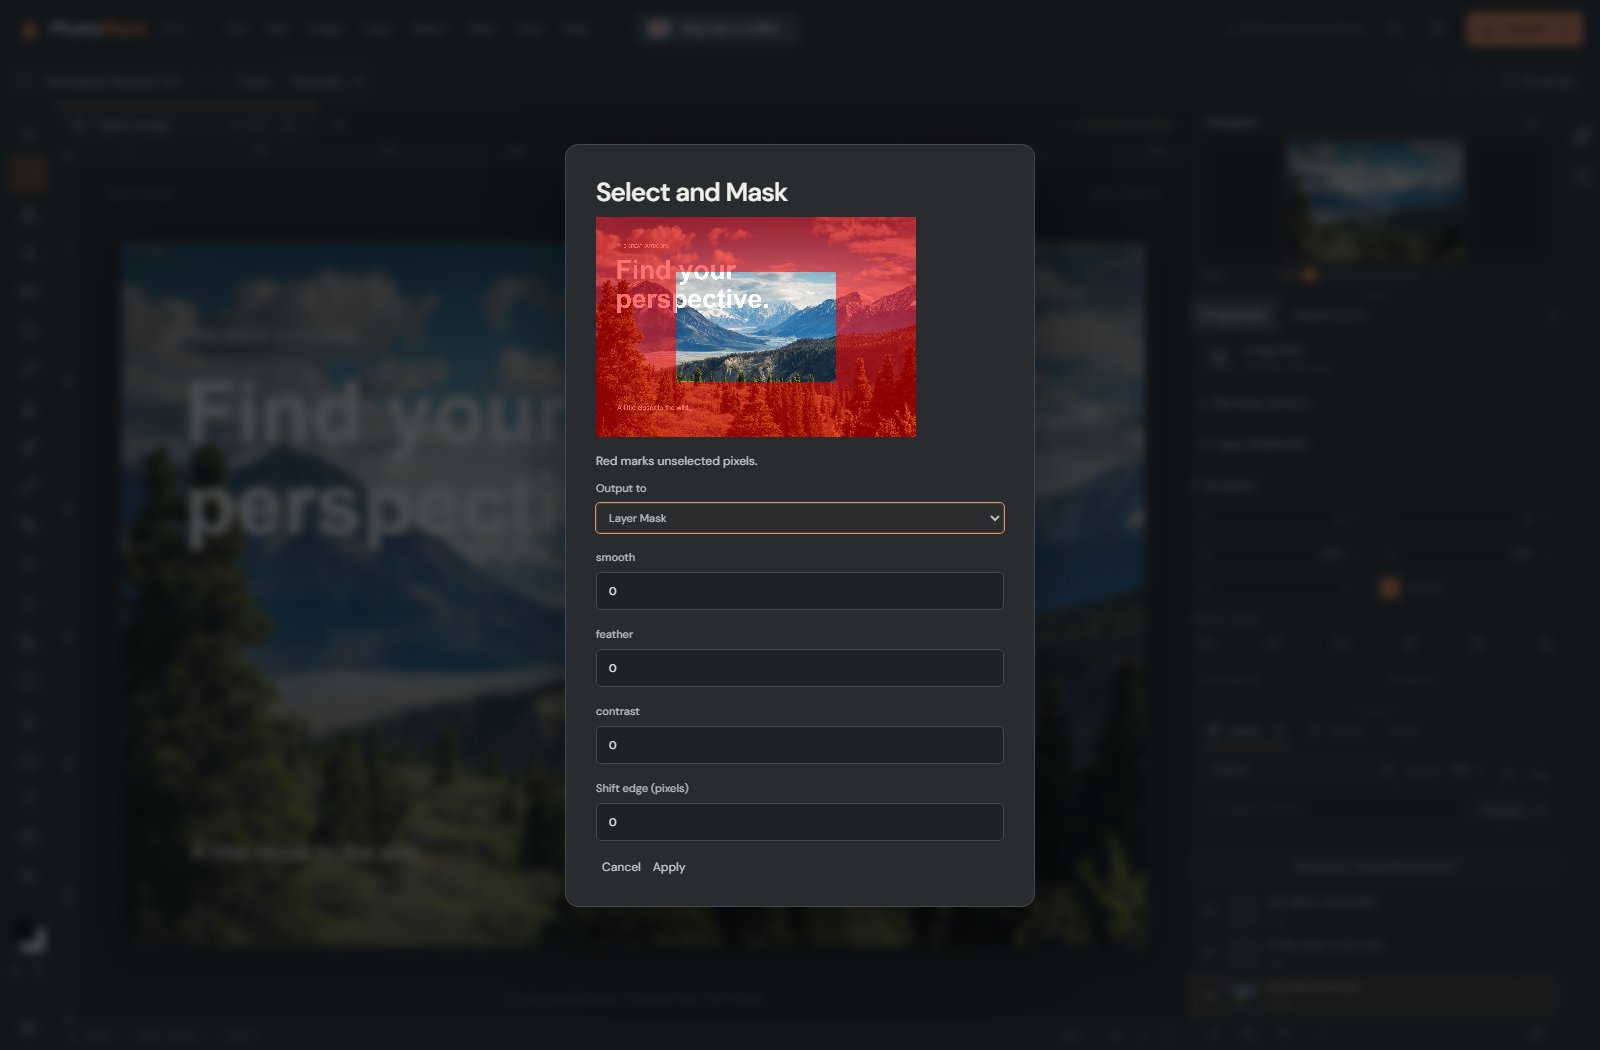
- Choose Select → Select and Mask…. Set Output to to Layer Mask and confirm the dialog. The selected subject should remain visible while the background is hidden. Edit → Add layer mask instead creates a fully visible mask; it does not turn the selection into a cutout.
- Choose Select → Deselect pixels. Hide the untouched original layer underneath so it does not fill in the background again.
If the subject is hidden and the background remains, the selection was the opposite of what you wanted. Use Invert layer mask, or undo and invert the selection before making the mask. For a manual alternative, start with a fully revealed mask and hide the background using the mask Eraser.
Inspect and repair the edge
Zoom to 100%. Look around hair, gaps between limbs, shadows, and areas touching the old background. Temporarily place a light or dark shape beneath the cutout to reveal halos. Refine the mask with small strokes; avoid erasing image pixels if you still want a reversible cutout.
Do not expect every strand of hair or transparent surface to be correct automatically. It is better to preserve a natural-looking edge than to remove so much that the subject looks carved out. Undo an overly aggressive correction.
Put a new background behind the subject
- Choose File → Place image as layer… and choose the new background photo.
- In Layers, move the new background below the masked subject. If it covers the subject, it is still above it.
- Select the background and use Move/transform to fill the canvas. Then select the subject and position it where you want.
- Check the lighting and scale. A very sharp subject on a blurry background or mismatched light direction can look unnatural.
- Save the layered PSD. Export JPEG if the finished design has a solid background, or PNG if you want transparent surroundings.
For transparency, hide every unwanted background layer before exporting PNG. A white-looking background can be an actual white layer; inspect the checkerboard before downloading.