 Photo
PhotoChoose the operation that matches your goal
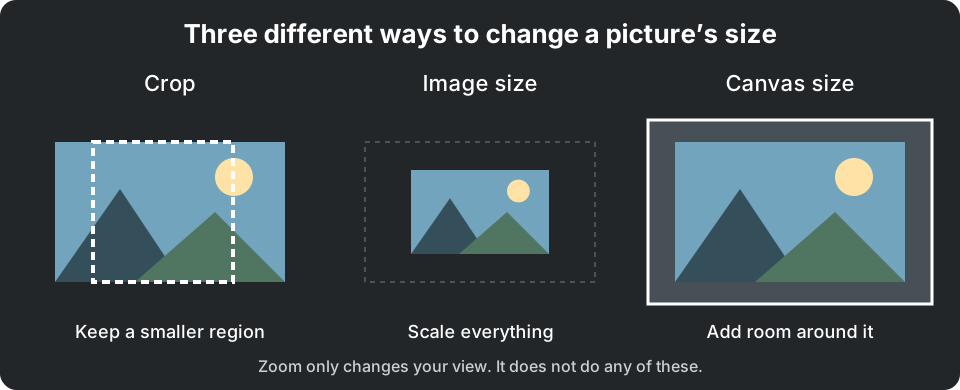
| I want to… | Use | What changes |
|---|---|---|
| Remove distracting edges | Crop | The visible bounds of the document. |
| Make the whole picture smaller | Image size | Pixel dimensions of the composition. |
| Add space around the artwork | Canvas size | The document bounds without scaling the artwork. |
| Make one logo smaller | Move / transform that layer | Only the selected object. |
| Look more closely | Zoom | Your view only. |
Crop a photo to a square
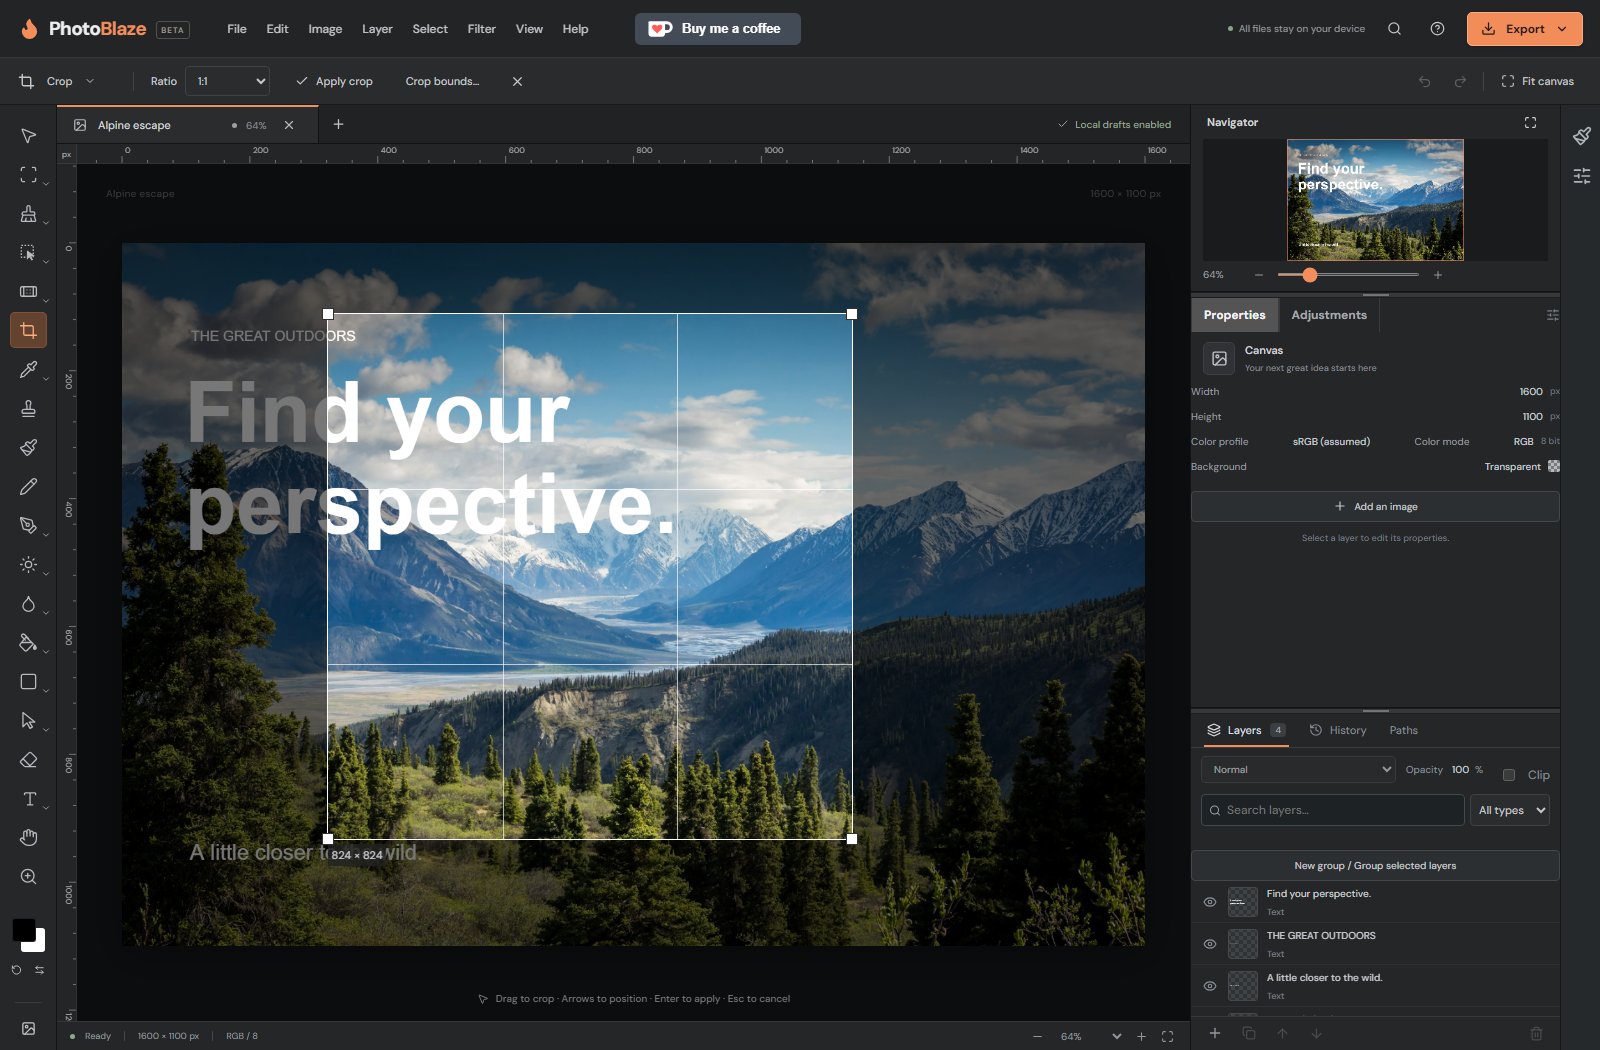
- Open a photo and save a PSD if you want a checkpoint. Choose Image → Crop canvas or the Crop tool on the left.
- In the options bar, choose 1:1 for Crop aspect ratio. This makes a square; it does not specify the final number of pixels.
- Drag on the photo to draw the area to keep. Include your subject and enough space around it. The rectangle previews the new bounds.
- Click Apply crop to commit, or Cancel crop to keep the original bounds.
- Inspect the result and use Undo if the framing is wrong. Cropping applies to the document, so check text and other layers near the edges too.
For exact coordinates and dimensions, choose Image → Crop bounds…. Enter the crop position and size, use Set crop bounds to preview, then Apply crop. A wide 16:9 crop suits a banner; a tall 9:16 crop suits a portrait layout.
Resize the entire image
- Choose Image → Image size…. Read the current width and height before changing them.
- Keep proportions linked if you want the picture to retain its shape. Enter the desired width or height in pixels; review the resulting other dimension.
- Confirm the resize. Check the new dimensions and inspect important detail at 100%.
- Save a separate PSD milestone if you still need the larger original. Export the resized copy for sharing.
Shrinking reduces detail; enlarging calculates extra pixels but does not recover missing focus or texture. For a one-time smaller download, the export dialog’s dimensions can be more convenient than changing your working master.
Add room around a design
Choose Image → Canvas size…. Increase the width or height and use the anchor to decide where the existing artwork stays. A center anchor distributes extra room around it; an edge anchor keeps it toward that side. Review the result before arranging new content.
Added empty space may be transparent. If you need a solid background, place a filled shape underneath the artwork. Reducing the canvas can put part of a layer outside the visible bounds. Save first and use Undo if important content is cut off.
Rotate the picture or just one layer
Use Image → Rotate canvas 90° clockwise or counterclockwise when the whole document is sideways. Flip canvas horizontally mirrors the entire composition, including text; check whether that is what you intended.
To rotate only a photo inside a design, select that layer and use its transform controls instead. The canvas and other layers stay in place. A rotated image can leave empty corners, so inspect all four edges before exporting.