
Edit an existing text layer
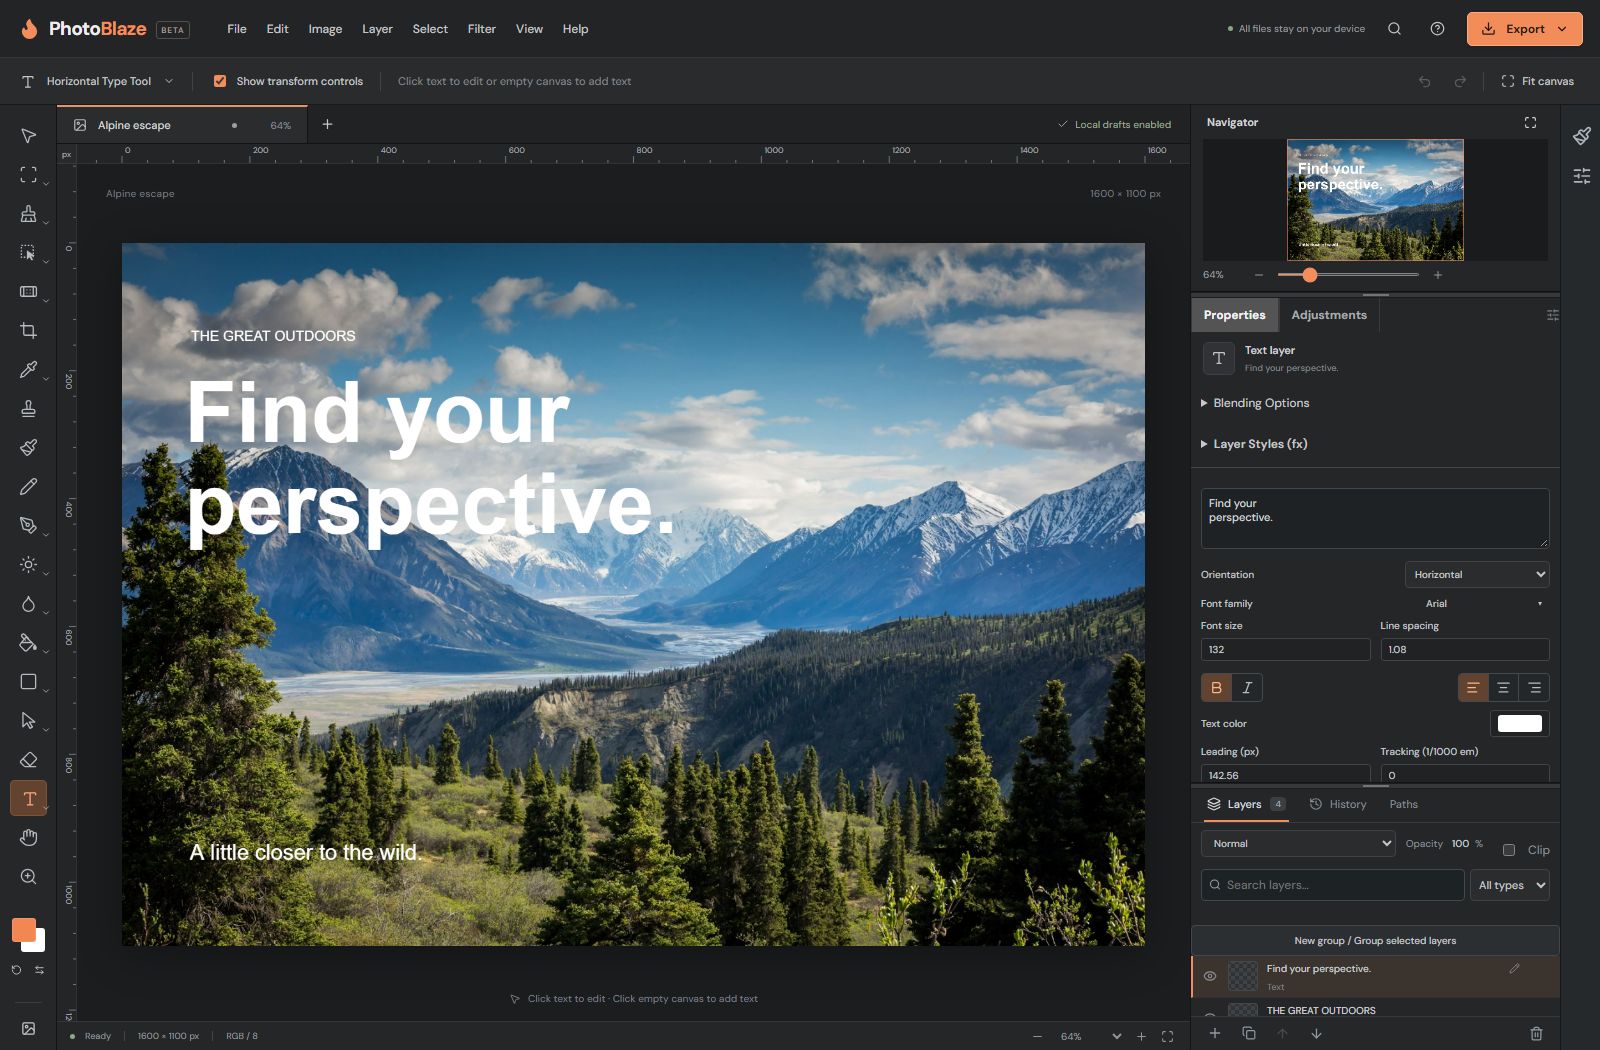
- Select the text layer in Layers.
- Choose the Horizontal Type Tool, or the Vertical Type Tool for vertical writing.
- Click the existing text on the canvas to place the caret. Select the characters you want to replace and type.
- Click away from the text to finish editing. Use Undo if you need to reverse a completed change.
Clicking an empty area creates new text. If you see a new placeholder instead of your existing words, cancel that draft with Escape and verify that the original layer is actually a text layer. An image of lettering cannot be edited as characters.
Find and preview a font
Open the font chooser and search for a family or browse the list. Each sample displays PhotoBlaze in that font. Hover over a font to preview it on the text you are changing; click to choose it. A temporary preview is not a committed font change.
Allow a font to load before judging spacing. Imported PSDs may reference fonts unavailable in this browser, which can change line breaks and appearance. Choose an available replacement and inspect the entire text block, not just the first line.
Use text Properties
Properties and Adjustments remain available while the Type tool is active. Select the type layer to see text controls. Font family and style determine the letterforms; size changes their scale; leading changes line spacing; tracking changes spacing across characters. Paragraph alignment positions lines within the text area.
Change one setting at a time when matching an imported design. Very tight tracking or leading can make letters overlap. Effects such as underline, capitals and typographic features may depend on the font’s available glyphs and shaping support.
Type masks create selections
Horizontal and Vertical Type Mask tools create a text-shaped selection rather than an ordinary editable type layer. Use them when you want to fill, mask or modify an image through letter shapes. Use the regular Type tools when you need to revise the words later.
Add a new headline
- Open a photo or create a blank project. Choose the Horizontal Type Tool from the T tool group on the left.
- Click an empty area of the canvas to start a new text layer. Select the placeholder text and type your headline.
- Select a readable font, set the size, and choose a text color that contrasts with the background. White text may be hard to see against a pale sky; black text may disappear into shadows.
- Click away to finish. Choose Move, select the headline layer and position it. Keep the words inside the canvas edges.
- Save a PSD before exporting so the words stay editable. Exported JPEG and PNG files contain a picture of the text, not editable characters.
What the text settings mean
| Setting | What it changes | When to use it |
|---|---|---|
| Font family | The design of the letters | Choose the overall look; preview before selecting. |
| Style / weight | Regular, bold, italic or available variations | Emphasize a heading without making it much larger. |
| Size | How large the letters are | Make text fit and remain readable at the final viewing size. |
| Leading | Space from one line to the next | Separate lines that overlap or feel crowded. |
| Tracking | Spacing across the letters | Loosen a headline gently; large changes reduce readability. |
| Alignment | Left, center or right positioning of lines | Arrange a paragraph within its text area. |
| Color | The text’s fill color | Create contrast with the image behind it. |
Start with font, size and color. Leave advanced type options alone until you need them. Change one setting, inspect the full text block, and undo if the result is worse. Some typographic options depend on the selected font.
Make text readable over a busy photograph
Move the words to an uncluttered area first. If that is not enough, put a dark shape or a gradient below the text and above the photo, then reduce its opacity. This separates the words from the image while keeping the original photo intact.
Check your export at the size people will actually see it. Large text on a zoomed-in canvas may become tiny in a social post. Leave a margin at every edge, and proofread before exporting.