 Photo
PhotoBrighten a photo with an editable adjustment
- Select the photo in Layers. Click the Adjustments tab on the right.
- Click Brightness / Contrast. PhotoBlaze inserts an adjustment layer above the selected layer and opens its Properties.
- Make a small Brightness change. Then adjust Contrast if the photo looks flat. Watch both bright clouds and dark details as you work.
- Toggle the adjustment’s visibility to compare with the original. Reduce its layer opacity if the correction is useful but too strong.
- Keep the adjustment in your PSD. Select its row later to change the settings again.
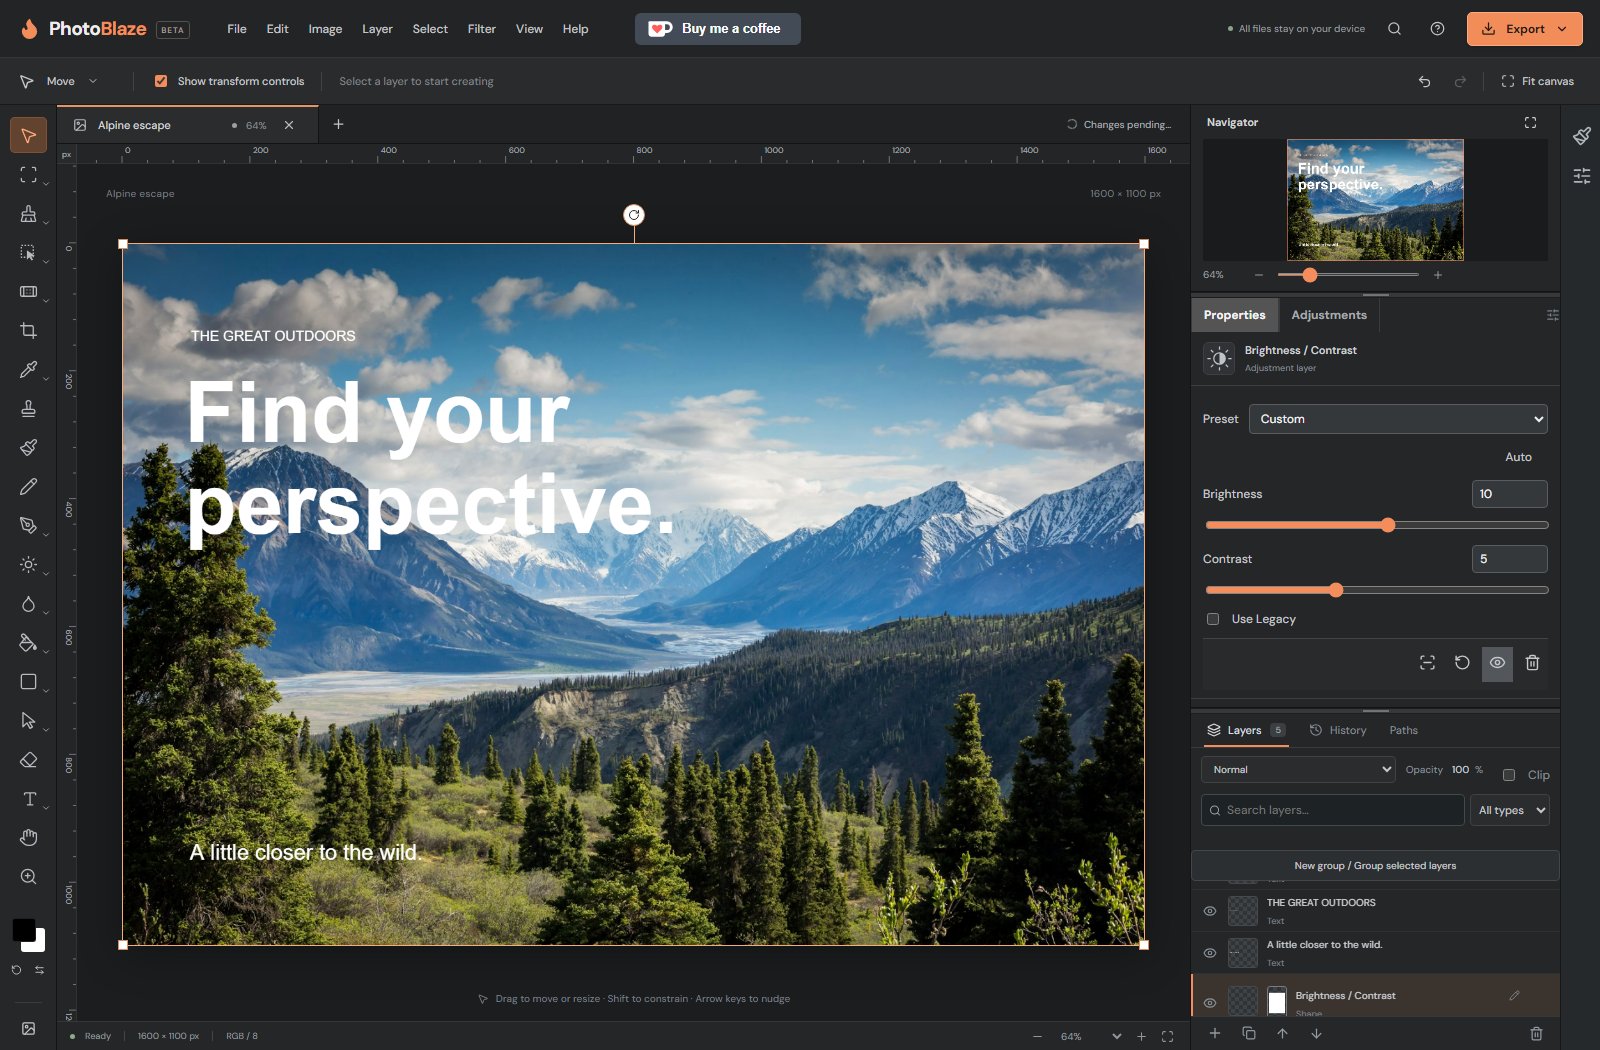
An adjustment can affect layers below it. If it should affect only the next layer, use Clip adjustment to layer below. Keep text above the adjustment when you want its color to remain unchanged.
Choose a correction by the problem you see
| Problem | Starting control | Watch for |
|---|---|---|
| The photo is too dark or flat | Brightness / Contrast | Lost detail in bright or dark areas. |
| The overall exposure needs correction | Exposure | Highlights turning featureless white. |
| The tonal range looks washed out | Levels | Black and white endpoints pushed too far. |
| Only certain tones need shaping | Curves | Sharp bends creating unnatural contrast. |
| Colors are too strong or weak | Hue / Saturation | Skin becoming orange or oversaturated. |
| You want a monochrome picture | Black and White | Different colors merging into the same gray. |
Make a few small changes rather than pushing every slider. Correct overall brightness first, then judge color. Save a version you like before trying a dramatic look.
Levels and Curves in plain language
Think of a photo as containing dark tones, middle tones and bright tones. Levels helps set where black and white begin and how the middle tones are distributed. Moving endpoints inward too far discards detail; a dramatic-looking preview is not always a better result.
In Curves, the horizontal direction represents starting tones and the vertical direction represents their output. Raising a point brightens those tones; lowering it darkens them. Start with one small change in the middle. Avoid several abrupt bends while learning.
These are tonal controls, not tools for restoring detail that was never captured. Use visibility to compare and examine a known neutral object, such as a white shirt, when evaluating a color shift.
Limit a correction to one part of the image
An adjustment layer can have a mask. Hiding part of its mask hides the correction in that area while leaving the original image underneath. This is useful when the sky looks good but the foreground needs brightening.
First make a modest adjustment. Then select its mask, enable mask editing and use the mask tools to remove the correction where it is not needed. A soft edge avoids an obvious seam. Learn the hide/reveal behavior in the layer-mask practice lesson before doing a detailed correction.